Video Walkthrough
Overview
There are two types of forms you can create in Momos.
- Single-page contact us form
- Google Review Winback Form
While both forms share the same customisability, they may differ in how you use them. This article will bring you through the difference between the two forms and how to set them up.

Single-page Contact Us Form
Single-page contact us can be customised to collect information from your customers that may not fall under a survey form.
Set it up to be a hiring form, or a more private inquiry and feedback form.
Google Review Winback Form
Google Review Winback Form can be setup for winback feature which collect customer information to move the conversation to private settings
Creating your form
To create a form, navigate to the “Forms” page and click on “Create”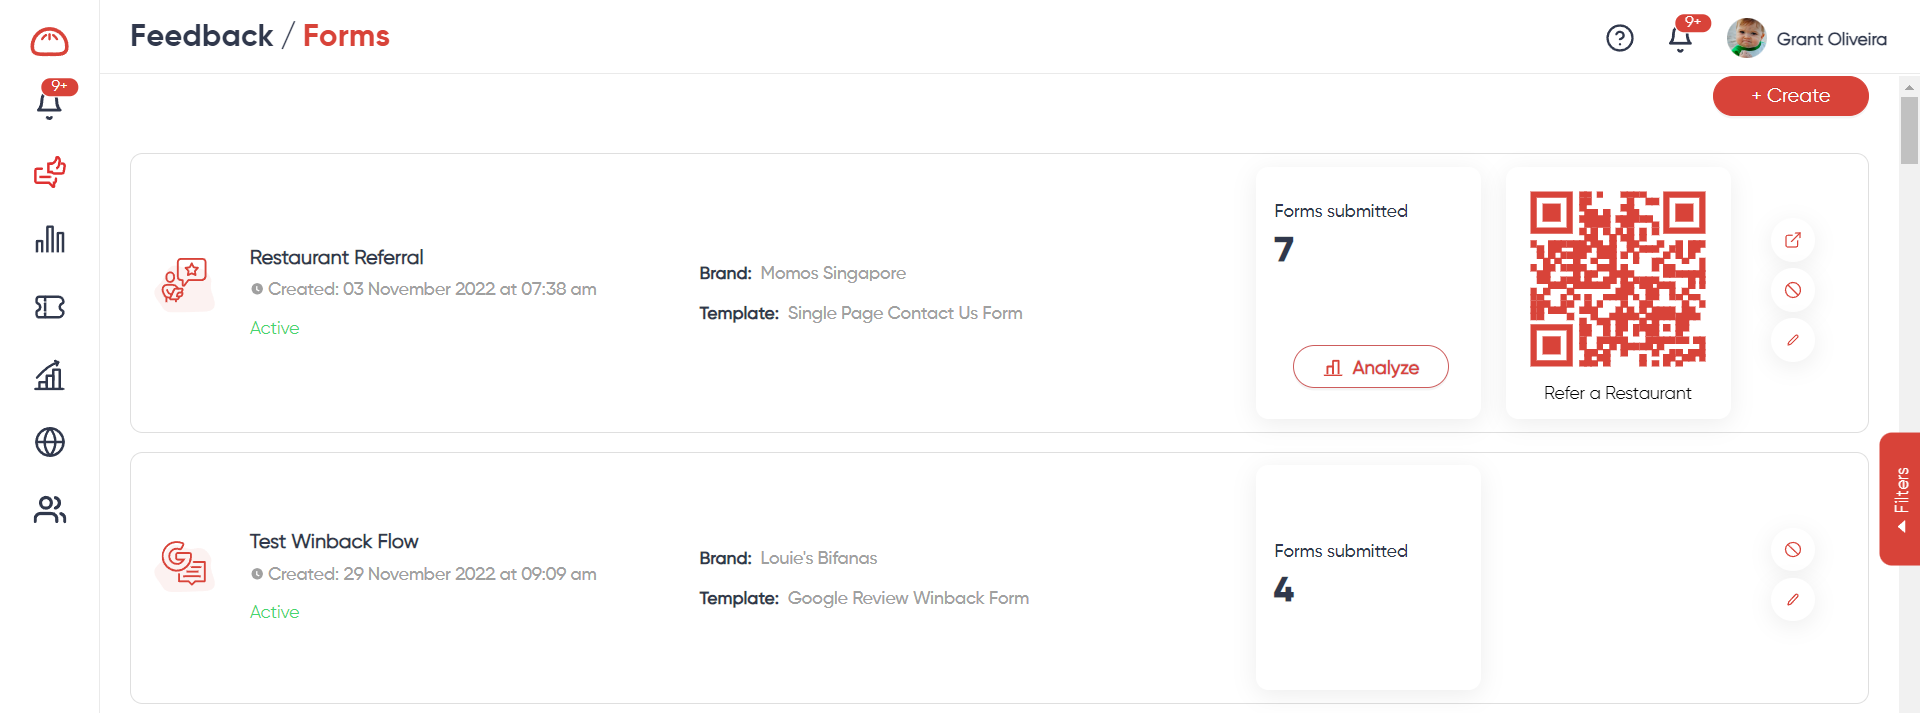
Choose between the Single-page contact us form or the Google Review Winback Form 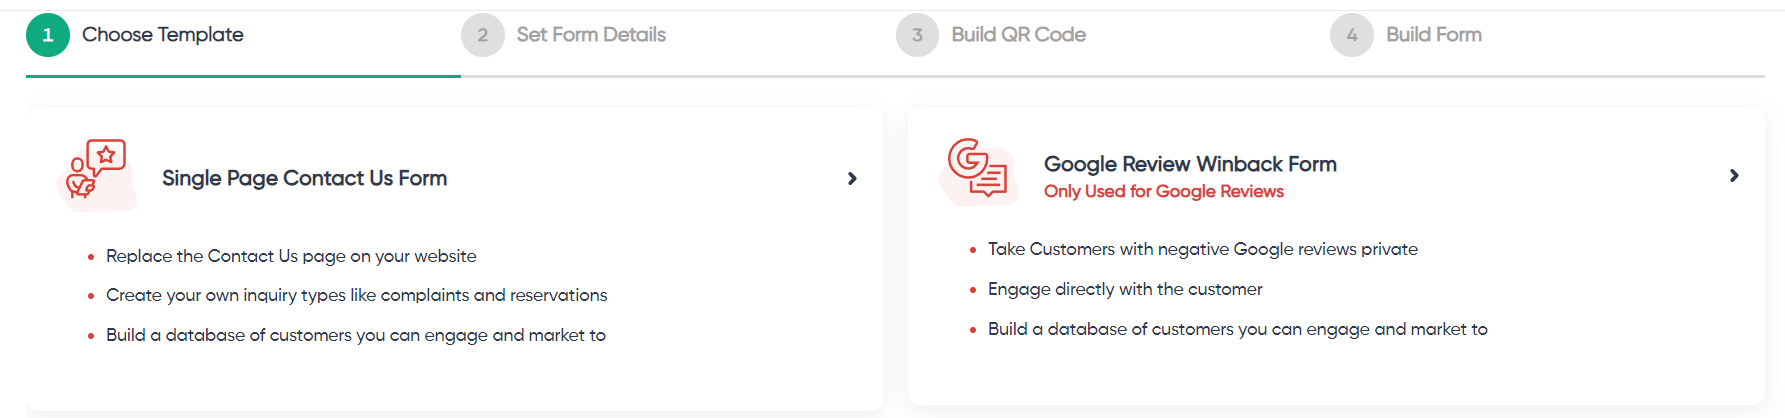
Name your form & choose the brand you want it to be associated with.
Next you will also be able to customise the QR code and choose the styling, font, and colour that match your business the best.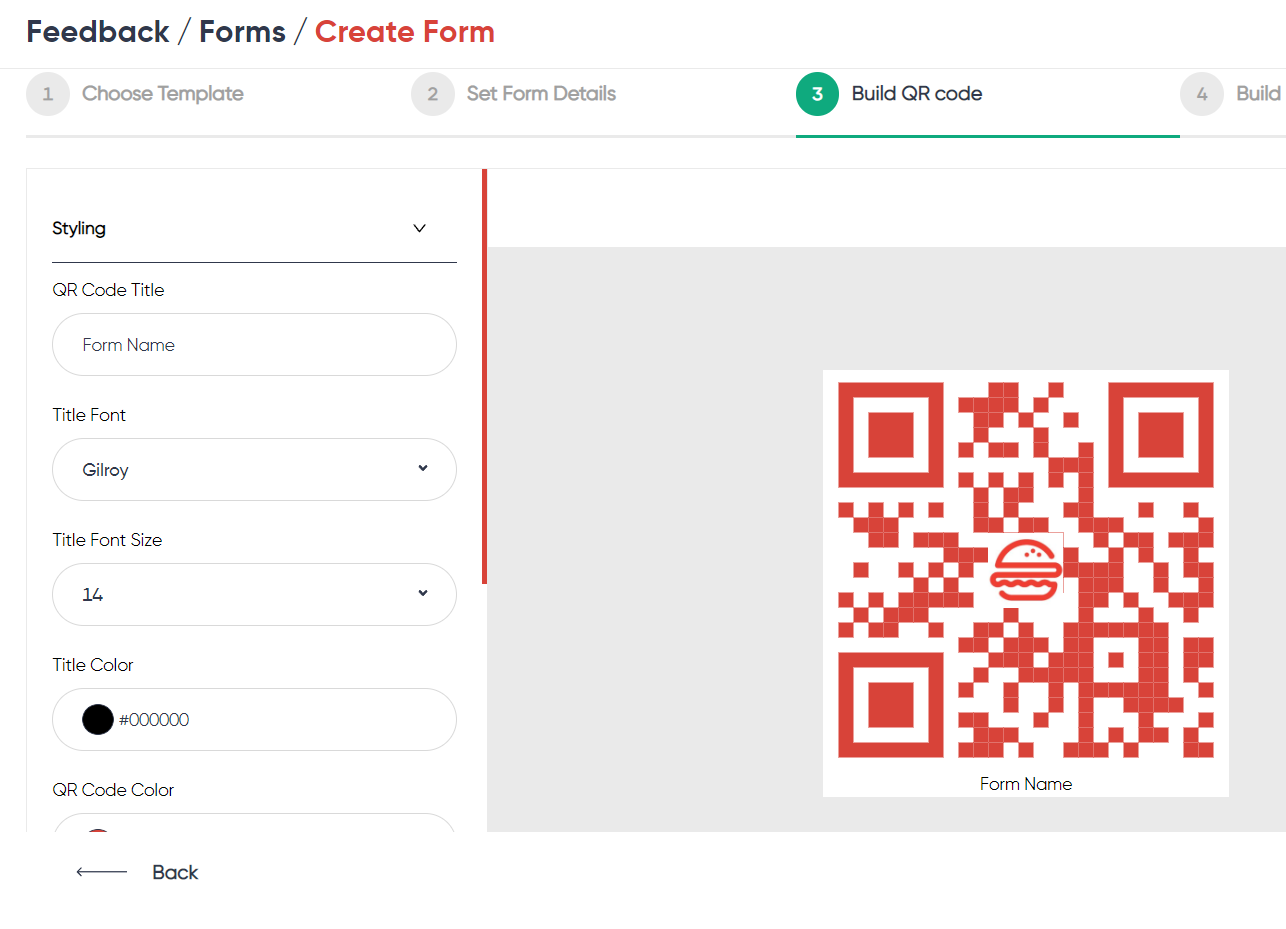
And lastly, you can customise your form's questions and options.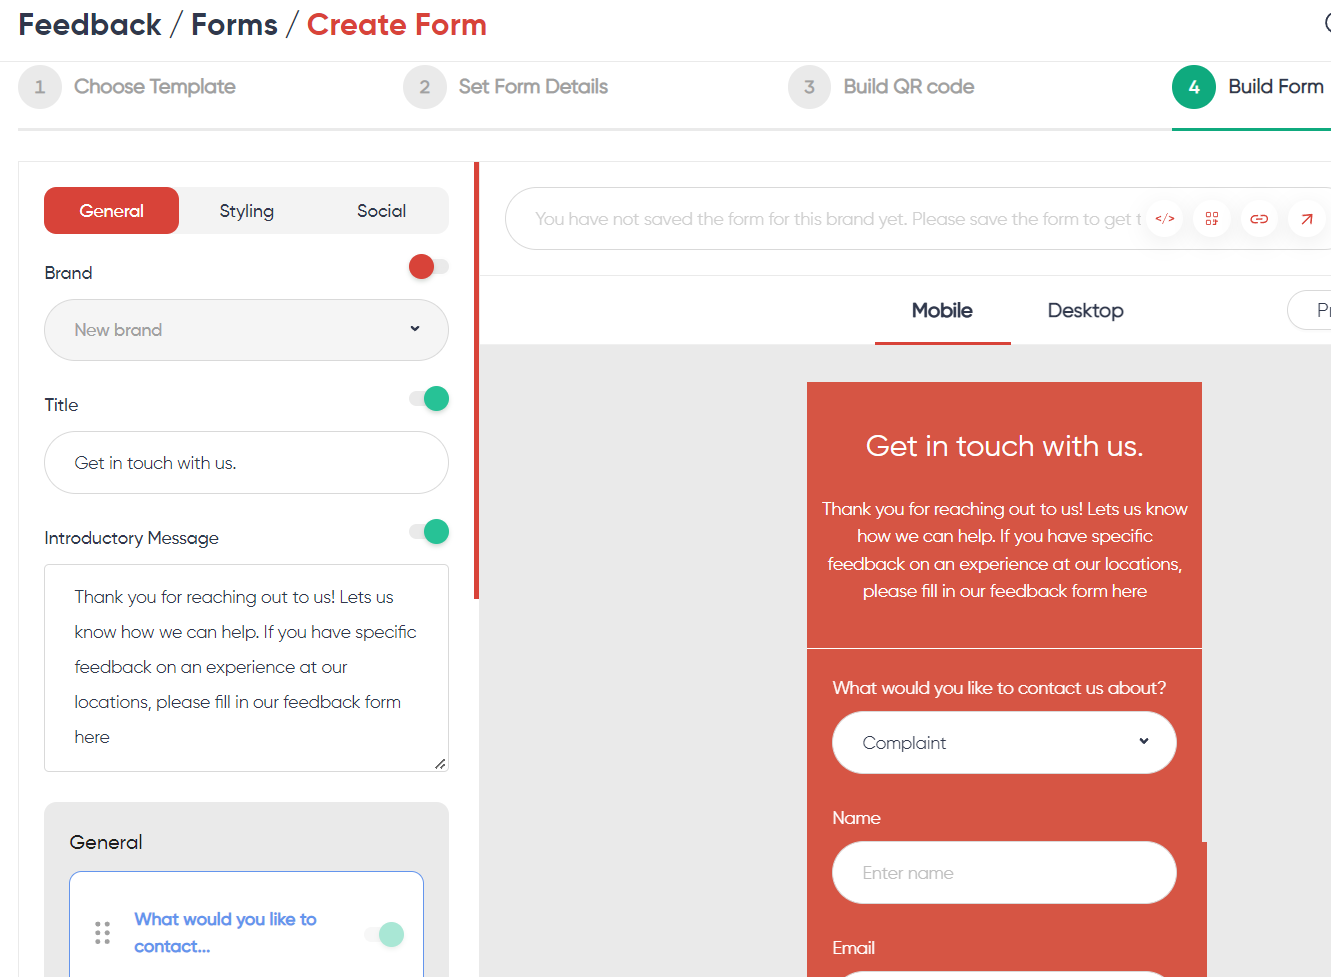
The "Build Form" section is separated into three parts; "General", "Styling" and "Social".
General
The "General" section is where you can set up and customise your inquiry form.
Title
This is the name or header message of your inquiry form.
Introductory Message
This is the main body of text that your customers will see when landing on your inquiry form. Let them know what this form is about!
Default Fields (General)
We have four default fields for Single-page Contact Us Form & three default fields for Google Review Winback Form .
While these fields can all be renamed, they are required for creating the base of your form.
These four default fields are as follows for the Single-page Contact Us Form;
What would you like to contact us about?
What the nature of the inquiry is.

Do note that you are able to add or remove "tags" that will determine the categories your form has.
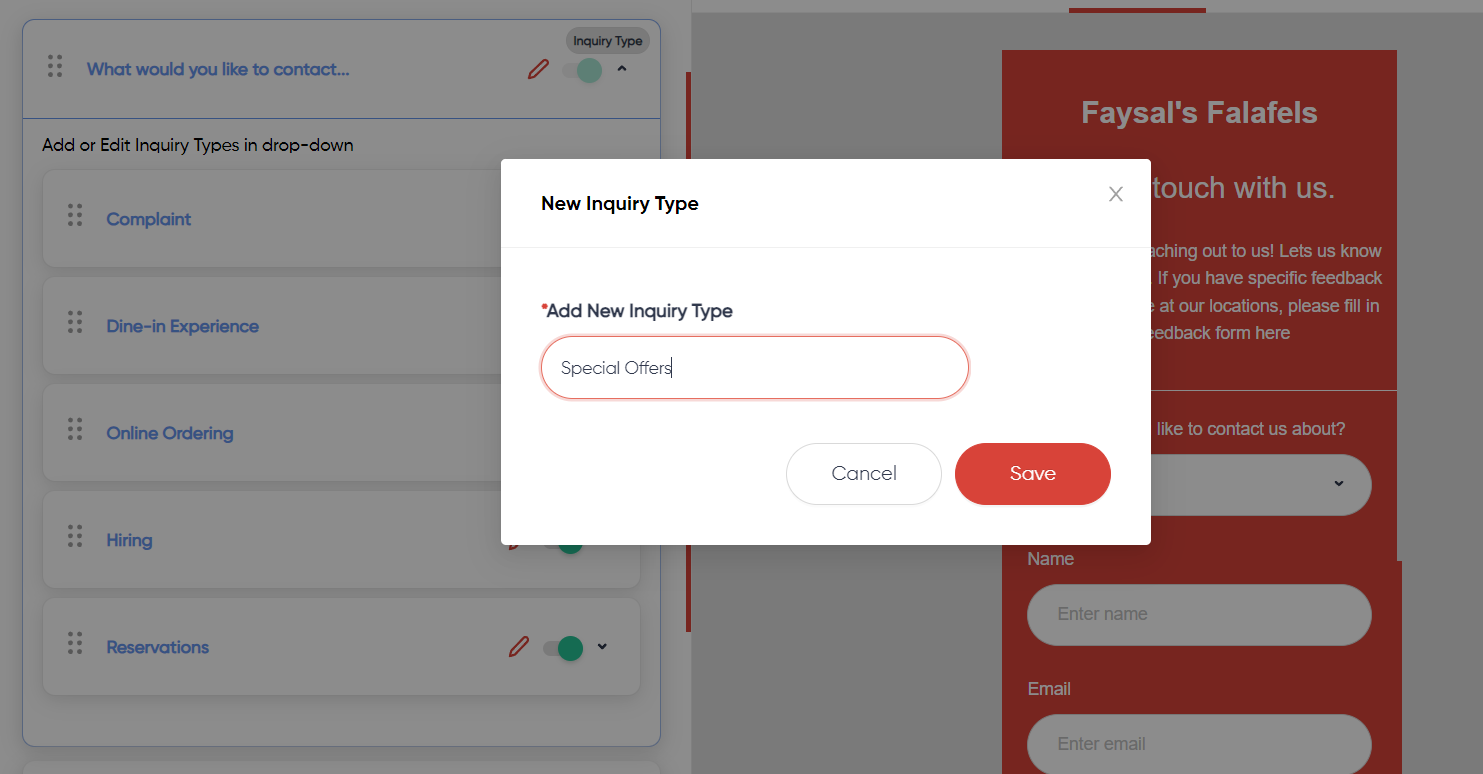
These tags can be used to indicate what questions appear in the form depending on which option the user chooses.
Name
The name of the customer. This field can be marked as a Required field
The email address of the customer
How may we help you out today?
A text box option, meant for users to describe the nature of their inquiry.
This field can be marked as a Required field
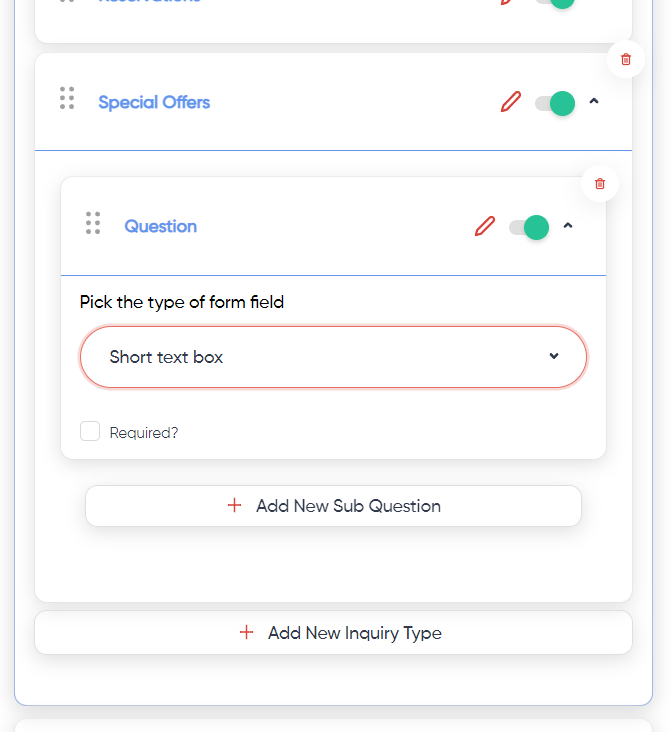
Adding more questions
For each tag you've created, you can click on the "Add New Question" button to create a question under that category in your inquiry form.
You are able to choose the type of form this field takes from a variety of options.
Any of these questions can be made a compulsory field by checking the "Required?" checkbox.
Styling
Upload a banner, logo and change the background color, font color and font type in this section.

Quick tips for styling your Inquiry form
For your brand logo, it is recommended to have a little extra border space to ensure there is wiggle room for positioning the logo.
Also, do take care when uploading a .png file with a transparent background. The background will be rendered black.
Commonly for logos with a white background, setting the header's background color to white works well.
However, when setting the background color to white, remember to set the font color to something else that provides a good contrast!
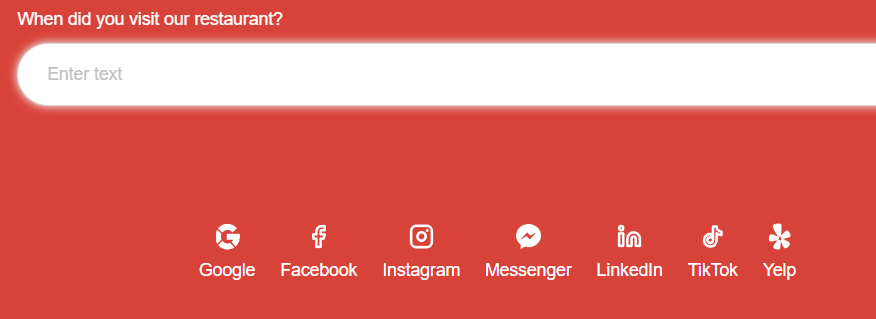
Social Media Info
Add your brand's social media info links here!
This will create a button that your customers can click on to redirect them to the social media link that you've input.
You can also rearrange the order of which they appear in.
Do note that for the button to appear, the field must not be empty.

Was this article helpful?
That’s Great!
Thank you for your feedback
Sorry! We couldn't be helpful
Thank you for your feedback
Feedback sent
We appreciate your effort and will try to fix the article